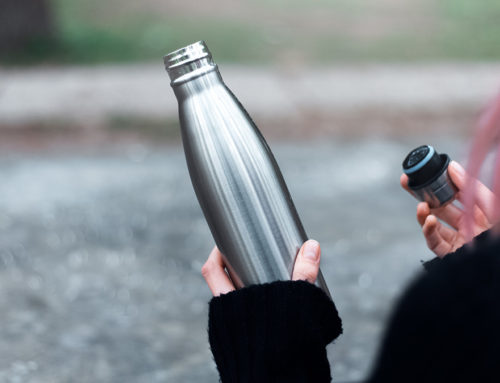
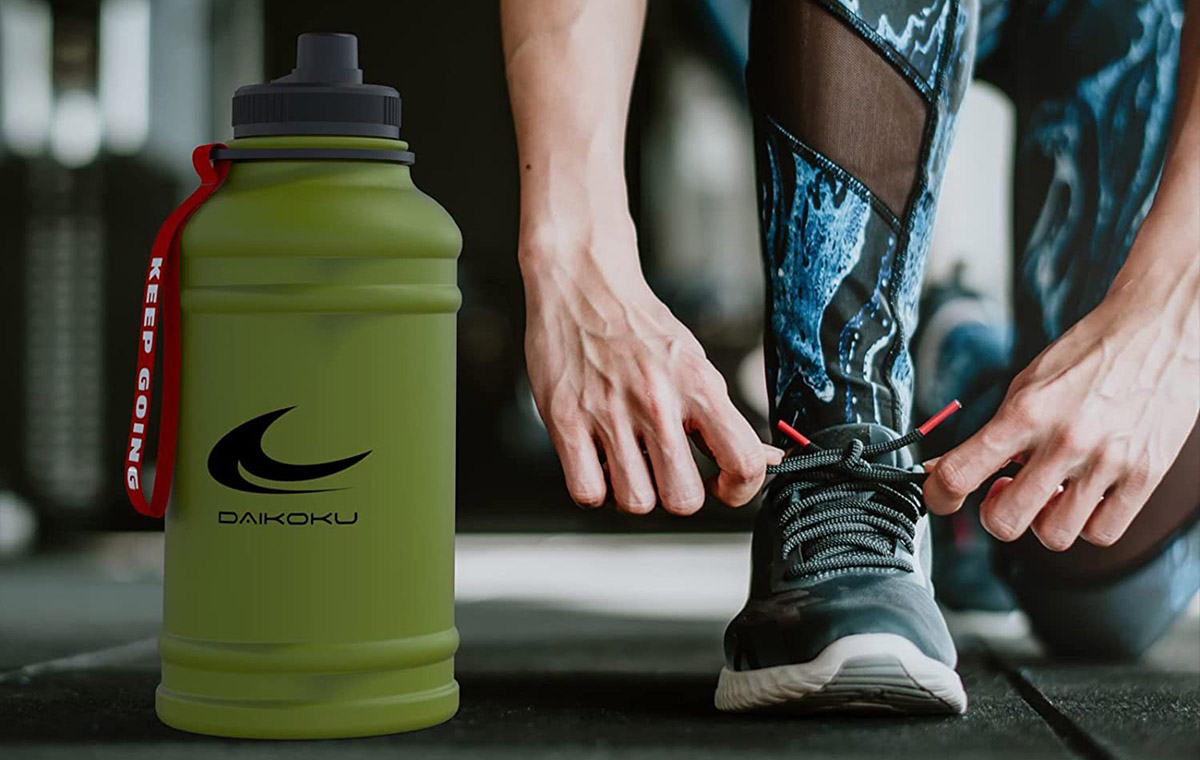
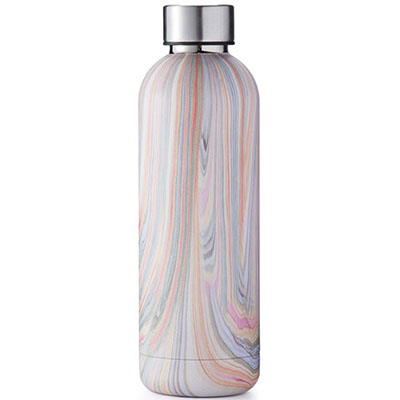
The surface of the stainless steel water bottles are normally sprayed with powder, spray paint, heat transfer printing, water transfer printing, water decals, or sublimation printing technology, etc., so that the water bottles / cups / flasks / jugs / tumblers / containers / growlers / vessels / bowls / drinkware look colorful and vivid. However, some water bottles manufacturers have defective production technology and neglected the testing process, resulting in the pattern or plastic powder or paint layer of the water bottles being easily peeled off.
As a leading stainless steel drinkware manufacturer, KingStar shares the test methods and detailed steps here, so that you can avoid quality issues while sourcing wholesale water bottles / bulk tumblers.

1. Aims
Test the wear resistance of the surface of the stainless steel water bottles and standardize the testing method
2. Test Equipment
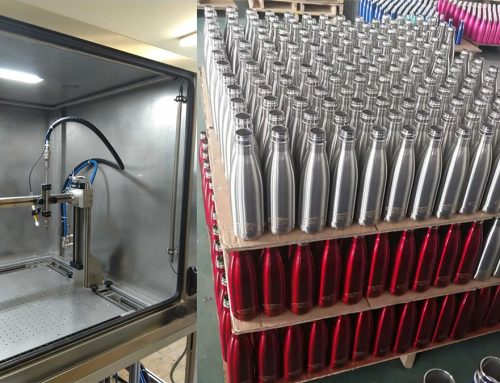
2.1 Rub tester(Independently developed by KingStar)
2.2 Rubber grinding head, cotton grinding head and high-purity alcohol
2.3 Two sets of 1000-gram weights
3. Test Condition
Speed range: 40 starts/min; friction range: 0-50mm; load: 1000g
4. Test Method
4.1 Check up the power plugs and turn on the equipment.
4.2 Fasten the stainless steel water bottle with a fixture horizontally and keep its surface at the level.
4.3 Clamp the grinding head (rubber grinding head needs to be ground into an arc shape on abrasive paper grit 100) to the test rod and the grinding head should be exposed 4-5mm. (Different grinding heads are required for sprayed and painted surfaces)
4.4 Set friction numbers for the stainless steel water bottle to be tested(red represents the multiple) ; spray and paint ‘1000g’ and ‘500g’ on the two sets of weights respectively. Customized requirements are based on customers’ need.
4.5 Rotate the button to the start position, adjust the speed to required value and begin testing. (Spraying water bottle test at the speed of 40 starts/min and painting test at the speed of 30 starts/min)
4.6 Check up the surface of tested products, take photos and record results in a special list.

5. Notices
5.1 Cut off the electricity, put remain materials back to the designated kit and clean the workbench.
5.2 Test bench should be placed horizontally.
5.3 Don’t touch equipment while testing.
5.4 Non-professionals are not supposed to refit equipment at will.
Test pictures and videos are company secrets, so they are not allowed to be posted on this article. If you are interested in know more about this test, welcome to visit our company. However, taking pictures is not allowed on site.
Want to Order Custom Design Water Bottles?
You are at the right place! KingStar conducts strictly testing for each products to ensure your private labeled water bottles are of best quality! Send email to us: sales@waterbottle.tech, you will get reply within 24 hours.
Insulated Metal Tumbler 20 oz
$2.15-$3.16
Insulated Tumbler 30 oz
$2.59-$3.90
Narrow Mouth Bottle 500ml
$3.22-$3.46
Wide Mouth Bottle 32oz
$3.98-$4.83

Cola Shaped Bottle 18 oz
$3.05-$3.26
Mr. Samuel Liu is Senior Research&Development Engineer of KingStar Industries Co., Ltd. Please feel feel to send email to info@waterbottle.tech if you want to talk with him on technology and manufacturing.