The most indispensable things during a long outdoor exploration are refreshingly cool water and fresh food. But outdoor enthusiasts, have you ever experienced this? You eagerly opened your cooler, only to find that the ice has mostly melted, leaving a box full of water, with food scraps and canned drinks floating around messily, and the carefully packed sandwiches soaked and ruined? This does not only spoil your appetite but also cause waste. The correct packaging method is crucial for extending the insulation time of the cooler and ensuring food safety. Whether you are planning a relaxed weekend camping trip, a beach vacation, or a long and challenging outdoor adventure or a long-distance road trip, by mastering the following professional techniques, you can double the ice retention time of your hard cooler and enjoy a refreshing experience throughout the journey.
Step 1: Preparation (Pre-cooling)
Preparation work is crucial before loading any items.
First, choose the right cooler size. If the cooler is too large, it not only adds unnecessary weight but also makes it hard to fill completely, and the excess air will accelerate ice melting. If it’s too small, it won’t provide enough space, and you might end up reducing the amount of ice to fit more food and drinks, drastically shortening the cooling time.
How do you determine the necessary cooler size? First, calculate the total volume of food + drinks needed based on the activity duration and the number of participants. Then use this estimated result in the following formula: Cooler Volume = (Food + Drink Stacking Volume)×3. This is because the ideal ratio of contents to ice is 1:2, meaning you need to reserve twice the volume of your contents for ice.
The most critical step is “pre-cooling” the cooler and content. If you have access to a walk-in freezer, placing the empty cooler inside for several hours (or even the night before) is ideal. If not, put some ice or ice packs inside the empty cooler to thoroughly cool its interior walls and toss them when done. Otherwise, the packed ice blocks/ice packs will waste a portion of their cooling capacity just to lower the cooler’s own temperature. While pre-cooling the cooler, also pre-freeze sturdy foods and canned/bottled drinks (excluding carbonated ones) so they essentially become “ice blocks.” Pre-chill more delicate items (like vegetables, sandwiches, etc.) in the refrigerator. The key point is to ensure that nothing is at room temperature when you start packing. This effectively reduces the burden on the ice and extends the overall cooling time.

Step 2: Choosing and Placing the Ice
Large blocks of ice or ice packs melt much slower than crushed ice because they have a relatively smaller surface area exposed to air, providing more prolonged and stable low temperatures. You can buy them from stores or make your own (by freezing water in jugs or plastic bottles). If you have ample drinking water supply, you can add some salt to a portion of the water jar (1-2 spoons per liter). When frozen, it won’t become a solid ice block but rather a slushy state, reaching a lower temperature and being more resistant to melting.
If the activity lasts for a long time or the environment is extremely hot, you can also consider using dry ice (unlike soft cooler bags, most models of high-quality rotational molded hard coolers can accommodate dry ice, but for safety’s sake, it is recommended that you check the product manual or contact customer service before placing it). However, be sure to use it safely, wear thick gloves to prevent frostbite, ensure that your hard cooler has an exhaust valve, and regularly release the air during use; otherwise, excessive pressure difference may cause safety hazards.

The order of placing ice also matters:
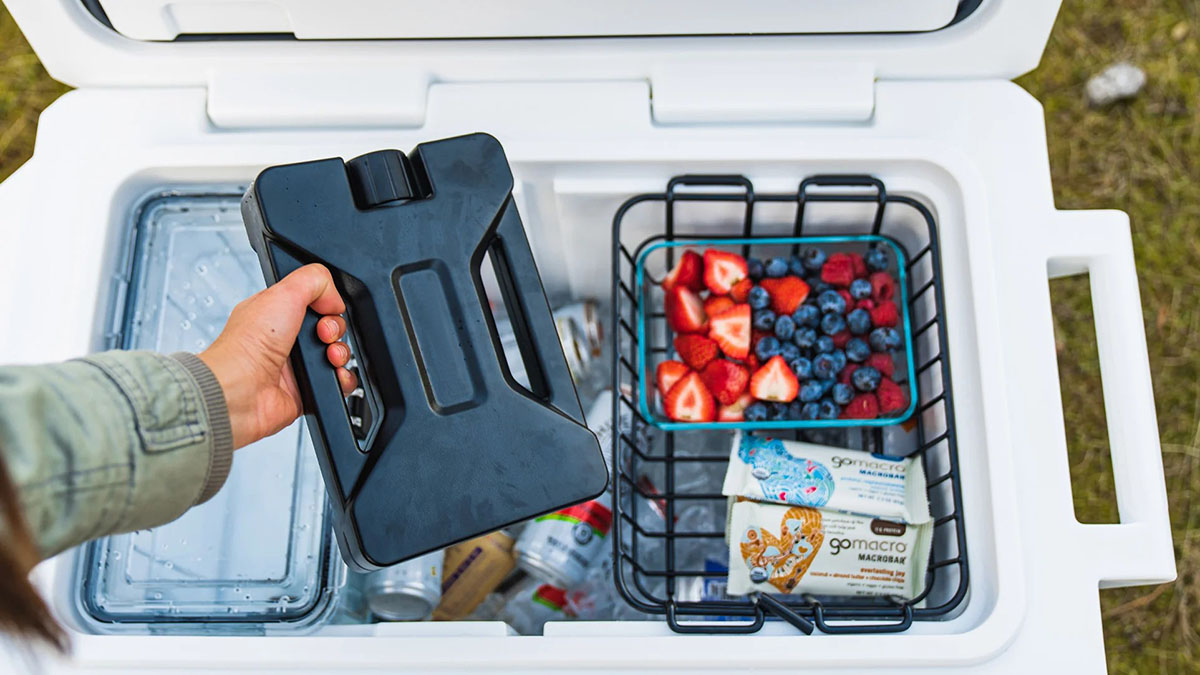
First, lay down a base layer of large block ice/large frozen water jugs/dry ice at the bottom of the cooler. (When using dry ice, wrap it in newspaper or a towel to prevent excessively low temperatures from directly contacting drink cans/food, which could cause freezing damage or explosions).
Layer food and drinks in between (see next section for the recommended order arrangement in detail), ensuring that gaps between layers are filled with bottled water / medium-sized ice blocks / ice packs.
Finally, cover the top with ice packs and fill any remaining small gaps with crushed ice.
Step 3: Layering Food and Drinks
This is the core of the packing strategy. Follow the principle of “from bottom to top, access on demand”:
- Bottom Layer: Place items that require the coldest temperature and are not frequently needed, such as bottled water and frozen meat.
- Middle Layer: Place pre-packaged foods, seafood, dairy products, and condiments that need to stay cold but won’t be consumed immediately.
- Top Layer: Place easily crushable or most frequently accessed items, like small cans of drinks, snacks, and fruit. This way, when you open the lid, you only need to reach the top layer, minimizing cold air loss.
Practical Tips: Be sure to pack all food items in waterproof bags or sealed containers to prevent cross-contamination and juice leakage. Group items logically, and keep raw and cooked foods separate to prevent cross-contamination. Avoid using paper cartons (yes, mainly milk cartons), as they become soft when wet, increasing the risk of leakage.

Step 4: Filling Gaps and Sealing the Top
The enemy of insulation is air. Make sure to fill in any gaps in the box with crushed ice as you arrange each layer of items. This can reduce air circulation, guarantee a more uniform distribution of cold air, and stop objects from moving while being transported.
Lastly, to reduce air and improve the sealing effect, place an additional layer of ice and a layer of towel on top of everything.
Step 5: Daily Use and Maintenance
Packing well is only half the fight; usage patterns are just as crucial:
- Minimize Lid Openings: Warm air rushes in each time the lid is opened. Make a list of what you need to remove, grab everything at once, and swiftly close the lid.
- Keep in the Shade: The cooler should always be kept in a cool, shaded area, such as inside a tent or beneath a tree. Another option is to wrap it in a moist, light-colored towel. Ice melting is considerably slowed down by avoiding direct sunlight. Heat is absorbed by the water evaporating from the damp towel, aiding in cooling.
- Drain Promptly: If ice starts to melt, you can tilt the cooler and drain some water from the drain plug when there’s not too much accumulation. However, note that retaining some ice-water mixture actually helps with insulation because the ice-water temperature remains constant at 0°. Only drain when the water becomes excessive and might soak the food.

Advanced Tips and Common Questions
- Prepare a Backup Cooler: If possible, have a spare cooler. Use the larger, better-insulated one for food and drinks. Use the other one to pack ice and bottled water. Keep the backup cooler sealed during the first half of the trip and only use it later to replenish ice in the main ice chest.
- How to Retrieve Items Quickly? If your activity is long-lasting or involves many people, and your cooler is large, you can draw a simple distribution map while packing to avoid wasting time searching.
- Post-Trip Care: After the trip, empty all items, clean the interior with mild soapy water, and let it dry thoroughly before storing to prevent mold and odors.
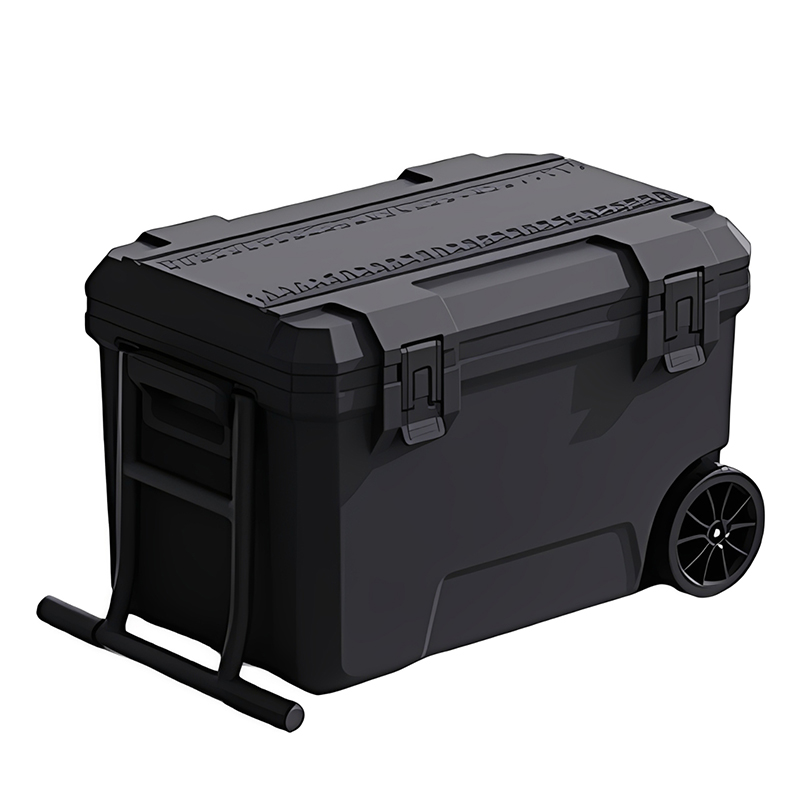
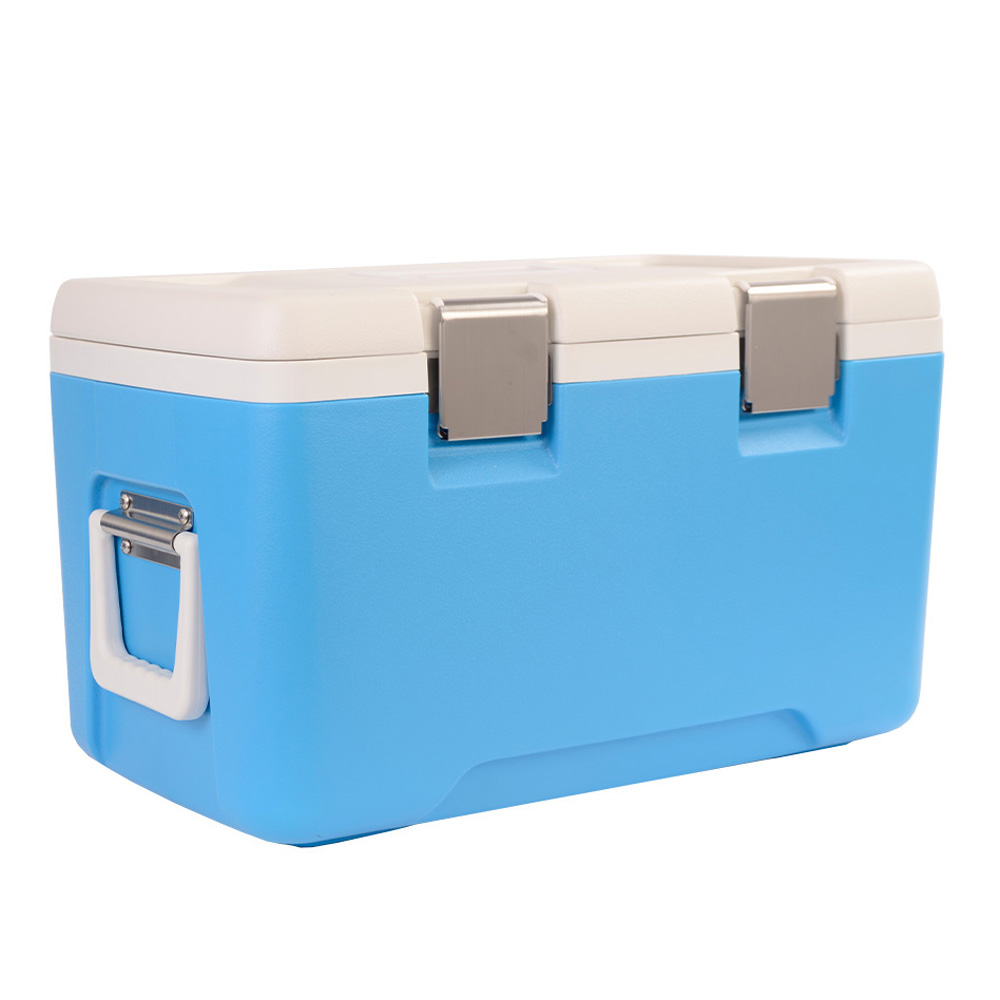
Choose a High Quality Hard Cooler from A Reliable Supplier
Mastering the correct packing techniques can greatly enhance your experience, and all of this starts with a high-performance, well-designed cooler box. As a professional cooler supplier for outdoor activities, we deeply understand the importance of durability, insulation efficiency, and user convenience. The range of hard coolers / ice chests we offer is designed based on these core insights.
Your food will stay fresher for longer thanks to our coolers’ high-density insulation materials and sealing technology, which guarantee ice retention times that significantly surpass industry standards. They are dependable long-term partners because of their sturdy construction, which can endure the demands of travel and challenging outdoor conditions. Every feature, including lockable lids, easy-to-clean interiors, easy-grip handles, and convenient drainage systems, is designed to improve your user experience.
Whether you are a retailer, distributor, or looking to build your own cooler brand, we offer competitive OEM/ODM services and support small trial orders to flexibly meet your market demands. Send your ideas and requirements to our email at sales@waterbottle.tech or leave online message, and let professional products become the start for your customers’ perfect outdoor experiences.