Making tumblers and mugs with beautiful waterslide decals is quite an easy and novel way to decorate them. You can achieve the decorating job without too much efforts if you follow KingStar’s complete guide of making waterslide decals for tumblers and mugs. Move on and finish reading this guide!
Process Outline
Step 1: Prepare the Decal
Step 2: Print the Decal
Step 3: Seal the Decal
Step 4: Cut out the Decal
Step 5: Prepare the Tumbler/Mug
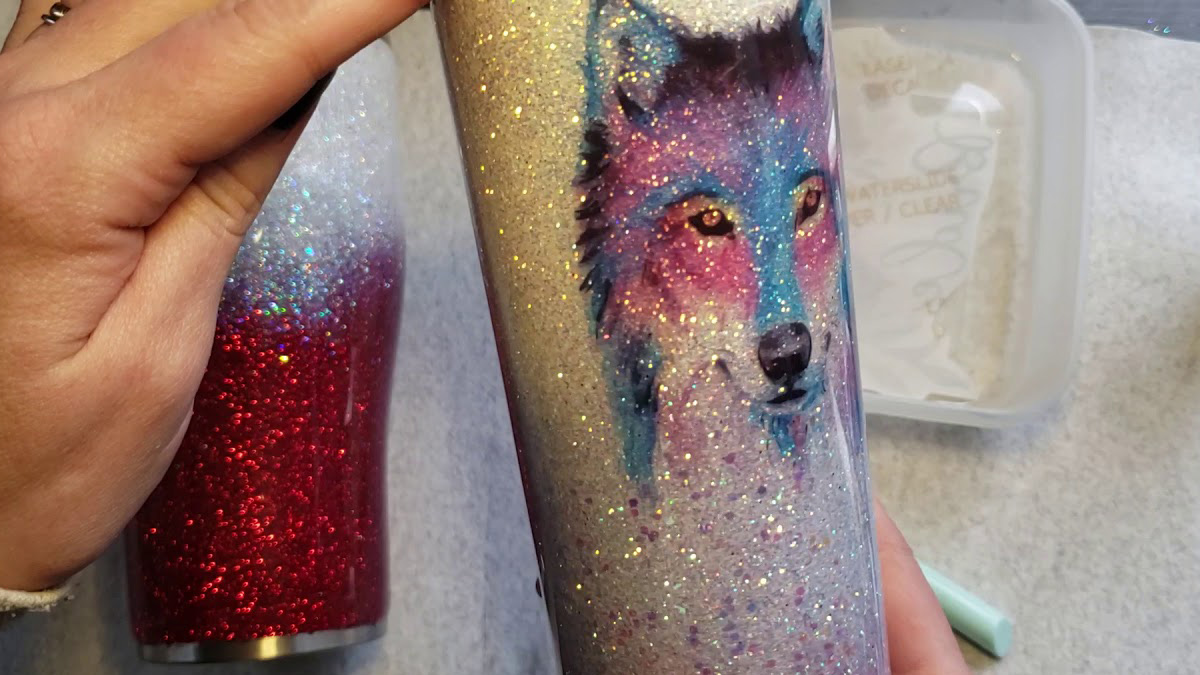
Step 6: Apply the Decal
Step 7: Dry the Decal
Step 8: Bake the Decal
Step 1: Prepare the Decal
When it comes to finding decals for your wholesale tumblers, you can either grab some decals from other people’s files library (you must get the owners’ consent) or design them by yourselves. The former approach is quite easy but lacks ingenuity and if you decide to sell those tumblers and mugs with the ready-made decal designs, you may involuntarily result in the infringement of IP (intellectual property) rights. Therefore, KingStar suggests you to choose the latter way, namely, devising your unique decals.
In fact, the latter way acquires brilliant techniques and is thus much more complicated. You may use a computer to work out several drafts through some certain drawing software and repeatedly modify them for further improvement and refinement. After all that, you can export PDF, JPEG, or PNG files. It is advised that you go and find a professional decal designer so as to obtain exquisite and personalized patterns for your tumblers in bulk and mugs.
Step 2: Print the Decal
Now you have got the decals, and it’s time for you to print them. KingStar suggests you to prepare an inkjet printer of high quality, which can represent the original color & shape of the decal to a maximum extent.
It must be noted that you have to print your loved decal patterns on the glossy side of the waterslide paper. You should adjust the corresponding settings before printing so that the best quality of the printing as well as the decal can be yielded. And after you have finished printing, you are supposed to wait for 3 to 5 minutes for decals to dry.
Step 3: Seal the Decal
In this step, you have to prepare a cardboard box (or other cheap container) and acrylic finish (also named sealer) to perform the sealing process. You are supposed to put your decals in the box you have prepared and then spay the protective finish onto your decals. It would be best for you to spray the finish evenly and you can repeat spraying for 3 times to obtain better sealing outcomes. After you have finished printing, wait for at least 1 hour (the sealer needs time to dry), and the three coats of acrylic finish will run quite well.
Step 3 is very vital since the thick acrylic finish can protect your decals from being ruined as time goes by. You must carry out this step in a well-ventilated place otherwise your health may be affected to some extent.
Step 4: Cut out the Decal
The cutting process may be easier than you have thought. Instead of adopting a professional cutting machine, you can simply use scissors to do the cutting job. In addition, you should cut out each of your waterslide decal leaving a slight vacant space (approximately 1/8 inch away from the border) around it. This small detail enables you to apply waterslide decals onto your tumblers and mugs smoothly and conveniently.

Note: When using scissors, please pay close heed to the safety distance between the tool and your fingers. Do not cut out waterslide decals too fast. Do it slowly for safety reasons.
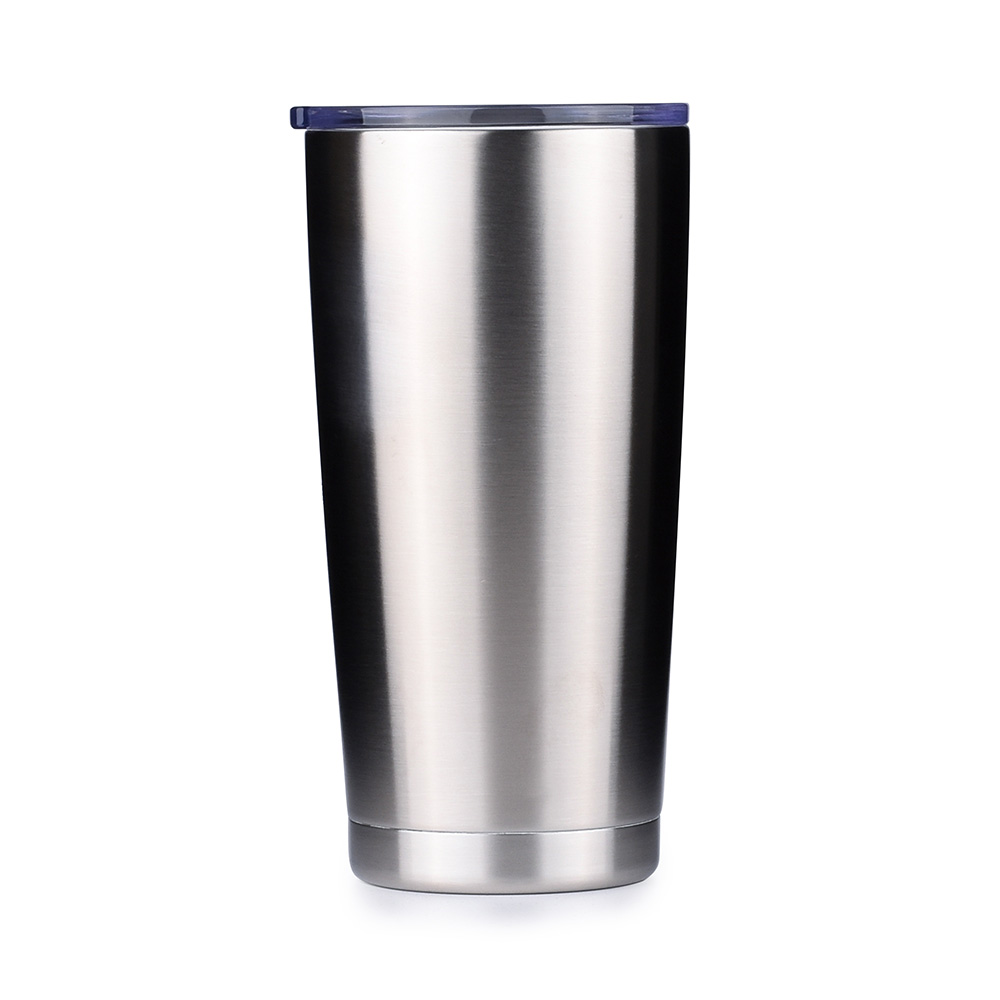
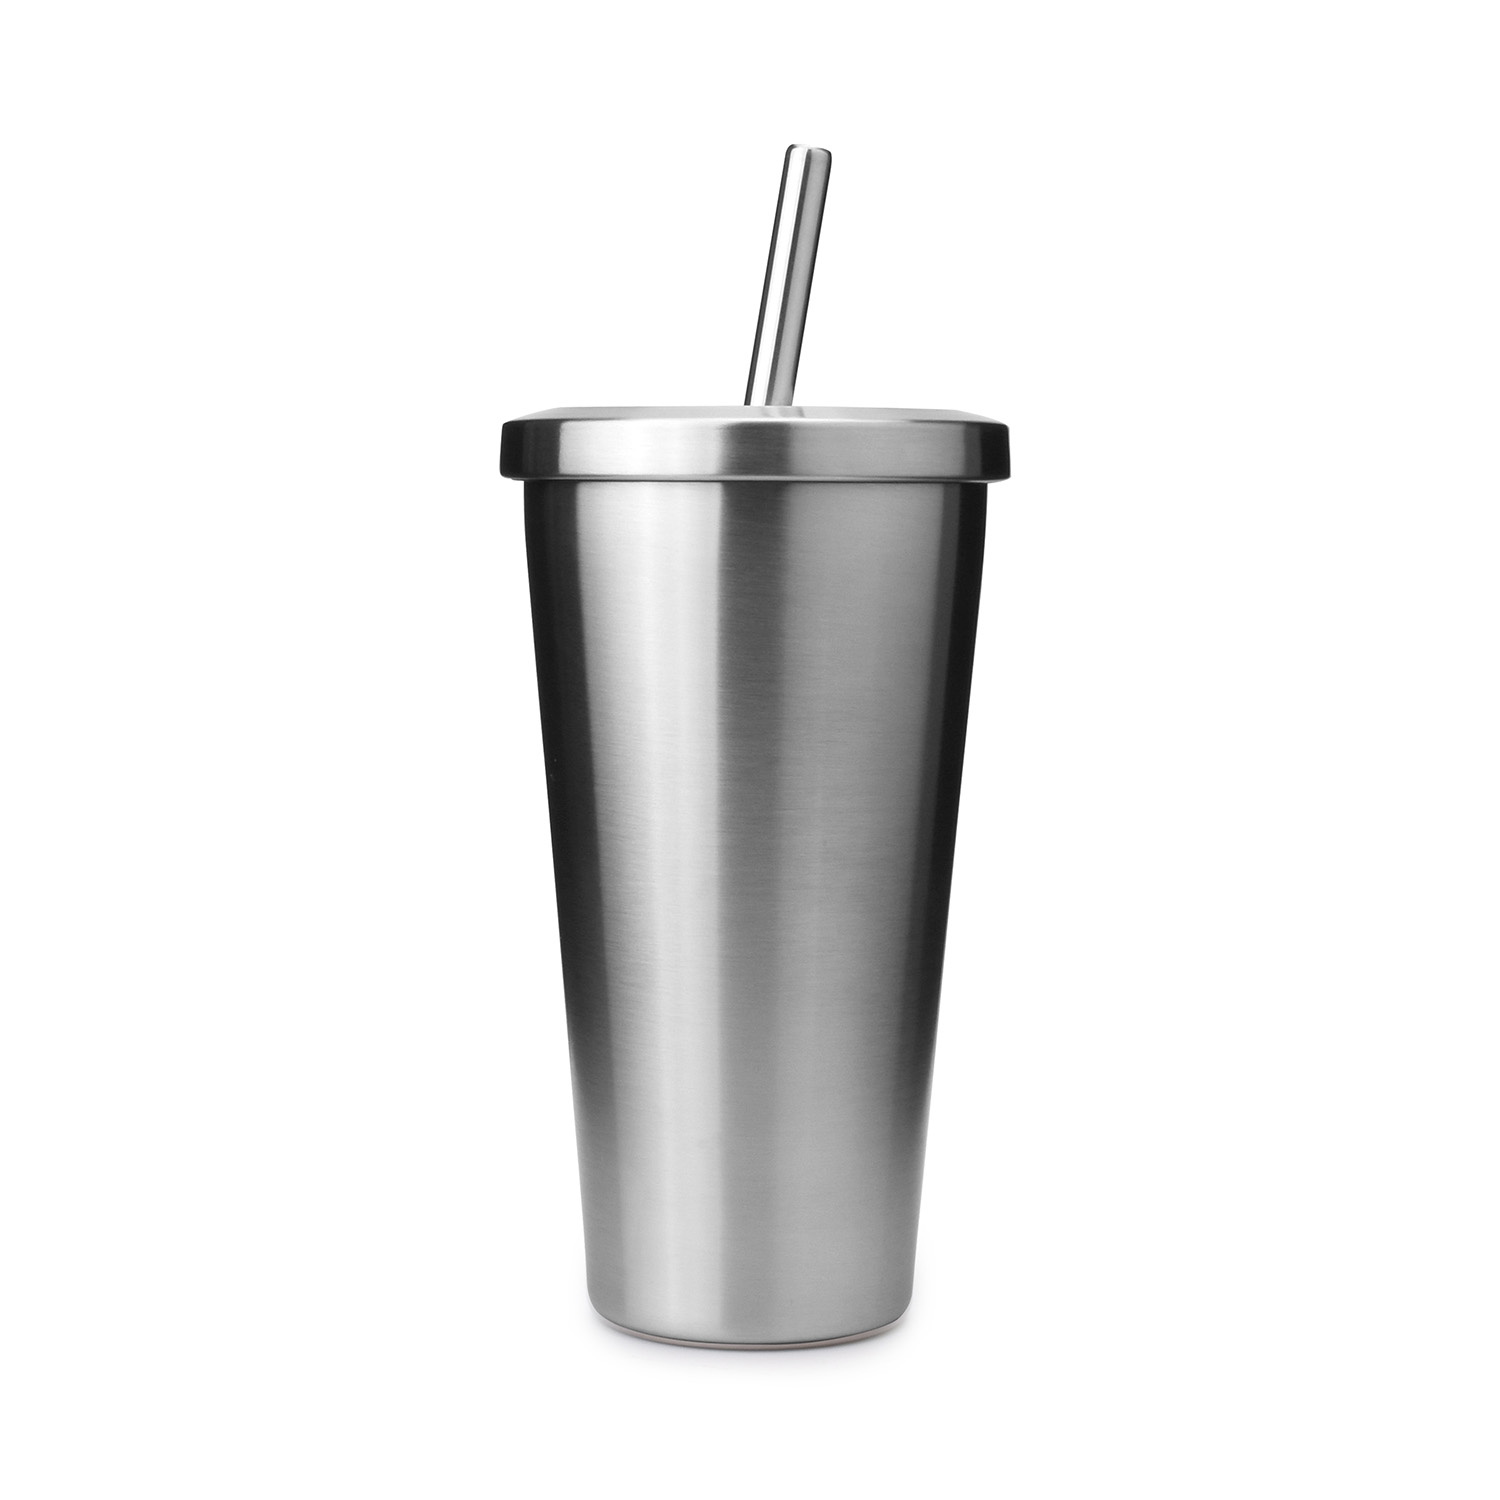
Step 5: Prepare the Tumbler/Mug
Whether it is a ceramic mug or a stainless steel tumbler, you can pick it up carefreely as long as it is of great quality and poses no threat to human body. Now you have a satisfactory tumbler/mug, you should wipe its surface clean. As the wholesale tumbler supplier, KingStar suggests you to clean the surface with alcohol, a commonly used organic solution that boasts excellent cleaning performance.
Step 6: Apply the Decal
First, you have to prepare a wash basin full of adequate water to drown your decal. Here, regular tape water is okay. Then, put your decal in the basin for about ten to twenty seconds. The decal will curl up at the beginning. And if you can flatten it out or uncurl it, you should remove it from the water. This can be regarded as a signal of proper submerging time period.

What if you leave the decal in the water for a long time or a very short period of time? In fact, if you leave it in the water for a very long time, the decal itself will become fragile and even broken, whereas, if you leave it for inadequate time in the wash basin full of water, your decal may not be able to slide off the waterslide paper easily.
Once you have separated the decal from its waterslide paper backing, you should immediately apply the decal onto your tumbler/mug, flattening it out. KingStar suggests you to slide the backing with one hand and press on the decal with the other hand at the same time to achieve perfect sticking outcomes. If the position of the decal on your tumbler/mug is not right, you can slightly adjust the decal with your fingers smoothing the surface of it carefully. In this way, you can remove potential bubbles and wrinkles and the decal looks nice in the end.

Step 7: Dry the Decal
Next, you can use a soft and dry towel to wipe off excessive water on the tumbler and let the decal sit and dry for three hours. But do not place it under direct sunlight, which may damage the decal and your previous efforts are then wasted!
Step 8: Bake the Decal
Eventually, we come to the final step of baking the decal. KingStar suggests you to bake it in the oven for 10 to 20 minutes. And the set temperature should be 230 degrees. After the baking process, the decal on your tumbler/mug will be tough and sturdy, resistant to daily wear.
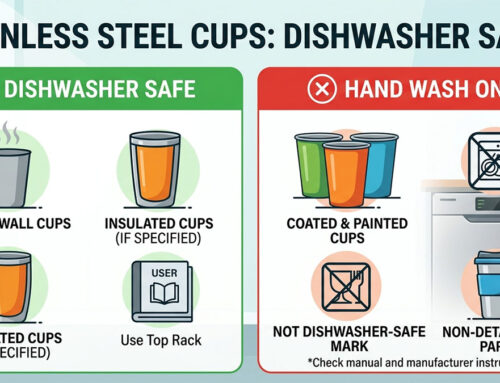
However, such a tumbler/mug still needs to be cleaned by hands rather than by a dishwasher. And if you want to further seal and protect the decal, you can apply another layer of epoxy onto the tumbler/mug.

Click and read more about Epoxy Tumbler DIY: Wholesale Blank Tumblers – The Entire Process of Glitter Epoxy Tumbler DIY
Mr. Samuel Liu is Senior Research&Development Engineer of KingStar Industries Co., Ltd. Please feel feel to send email to info@waterbottle.tech if you want to talk with him on technology and manufacturing.