
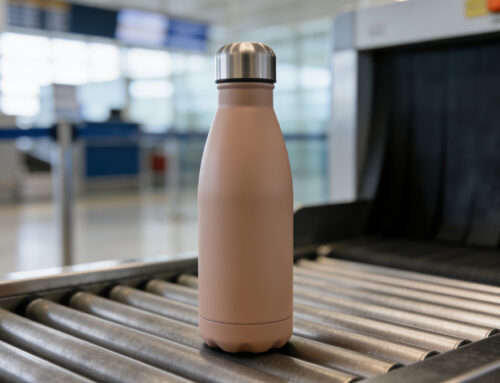
We are receiving more and more orders for wholesale blank tumblers; Google Trends shows that more and more people are searching “blank tumblers” and “Epoxy tumblers”; On Twitter, Facebook and Pinterest are increasingly talking about the content of DIY glitter epoxy tumblers. From these we know that DIY glitter tumblers are gaining popularity.

google trends of epoxy tumblers and blank tumblers
reference from youtuber Artsy Alexandra
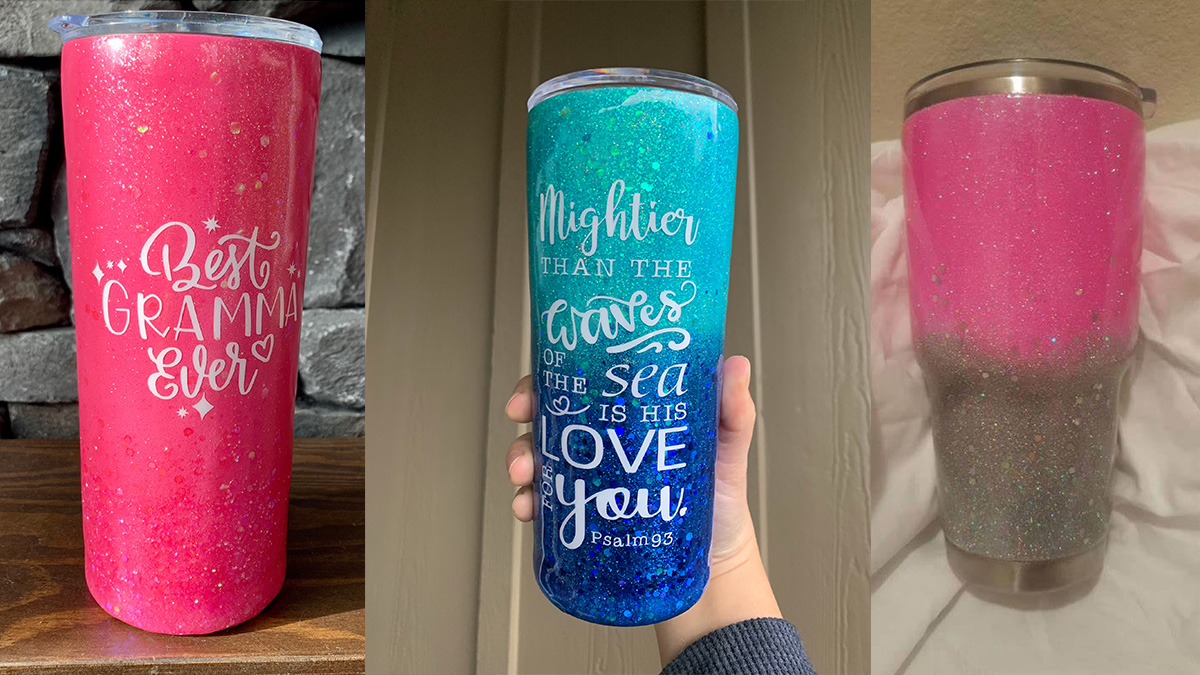
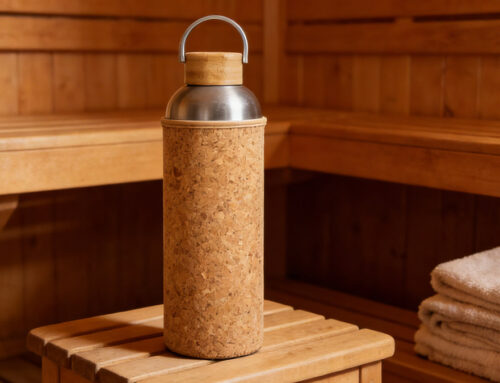
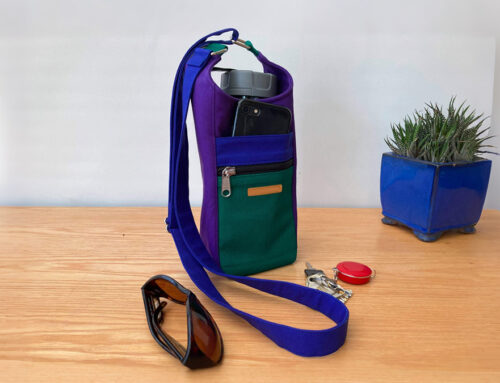
Nowadays, many people love decorating their water tumblers. They may stick beautiful and personalized stickers to their wholesale blank tumblers or ask custom water bottle supplier to perform advanced process such as embossing and engraving. Well, there is a new trend sweeping the water tumbler DIY circle—the glitter tumbler. Glitter tumblers are welcomed by water bottle DIY enthusiasts as these tumblers have nice look and can be made by themselves with low cost. Besides, the tumbler reflects the creators’ ingenuity as well as their efforts, holding memorable moments and joyful experience. Some people even cling to the belief that glitter tumblers can encourage hydration to some extent.
How to make your own DIY glitter tumbler? Here we share with you the entire process of DIY glitter tumbler to better facilitate your understanding. In the end of this article you can see the list of required materials. You will be able to craft any blank metal tumblers into Epoxy Tumblers with different colors, graphics or a sparkling decorating after finish reading this article. Here we go.
Step 1. Preparing the Tumbler
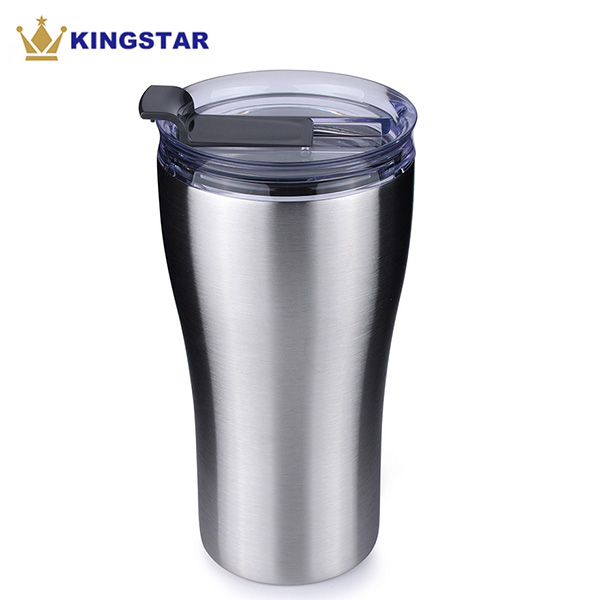
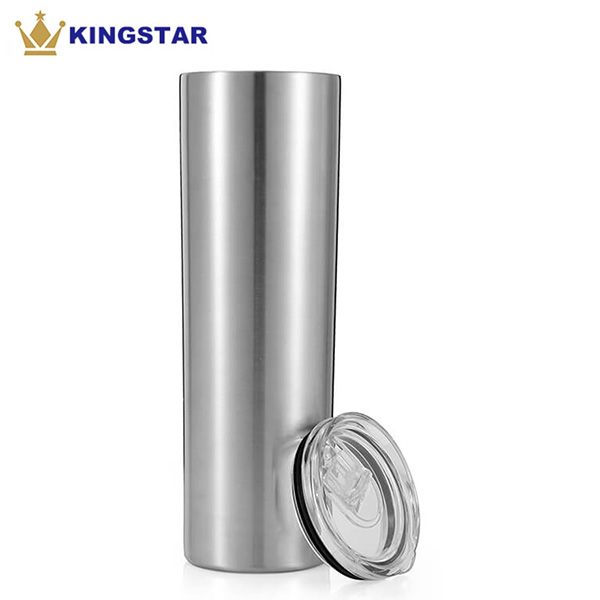
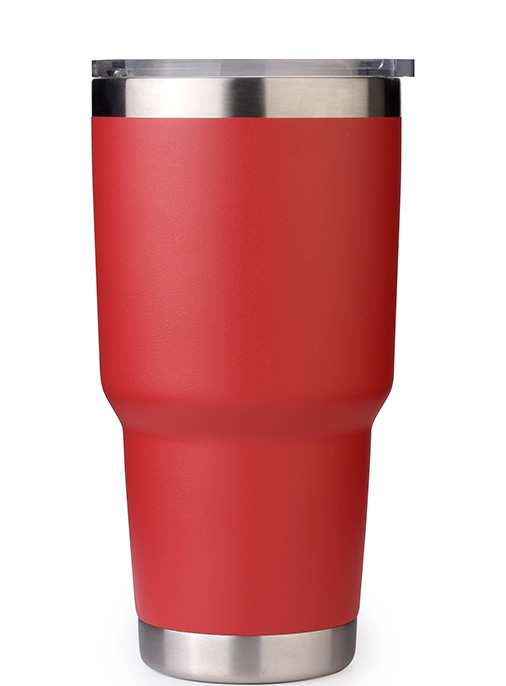
The first thing you have to do is definitely have a high quality tumbler. The tumbler you are going to decorate should adopt stainless steel SUS304 that is BPA free and durable. You are supposed to use this DIY glitter tumbler for a long time so the premium quality of the tumbler can not be ignored. Also, we suggest you to use a tumbler of stainless steel color, which is the best color for spray painting and obviates the need for scraping the original coating/finish. Now you have a qualified tumbler, and next you should tear off the original stickers or labels on it and wipe its surface with alcohol to clean the tumbler thoroughly.
After you have finished the cleaning, tape both the top and the bottom of the tumbler with continuous piece of an electrical tape. This small handling is helpful to offer you straight lines and you can decide the thickness of the DIY part by taping. If you also want to decorate the bottom with glitter and paint, then just tape the top of your tumbler. It is advised to fold over the edge of the tape so that you can later remove it conveniently.
Step 2. Painting the Tumbler
Choose your favored color of the paint and spray it onto the tumbler carefully. You should wear a pair of disposable gloves and a facial mask to protect yourself and stay hygiene. During painting, you are suggested to rotate the tumbler as slowly and regularly as you can to make sure that every skin of the tumbler has been well and evenly painted. You can put a carton board behind the tumbler during painting to “collect” the redundant paint (as is shown in the picture). Besides, choose a proper and correct place to spray-paint the tumbler is of vital importance. We suggest you to do it outdoors or in a well-ventilated room for your health.

Step 3. Putting Adhesive onto the Tumbler
Before putting adhesive onto the tumbler, you can make a simple tool (if you do not have a cup spinner) to rotate the tumbler so that it can receive both adhesive and glitter evenly and efficiently. You need a cardboard box, a long PVC tube and a football, and combine them into a low-tech tumbler turner (as is shown in the picture below). This step requires you to put adhesive on the tumbler evenly and swift because it may dry quickly and glitter can not stick to it firmly. So this simple tool is really helpful. You can use a brush to put the glue onto the tumbler, which has better effect compared to simply pouring with a cup.

Step 4. Glittering the Tumbler
As mentioned above, after putting adhesive onto the tumbler, you are supposed to glitter the tumbler as soon as you can so that the adhesive will not dry and lose stickiness. Again, use the simple turner tool you have made to better sprinkle the glitter onto the tumbler. You can put a paper beneath the tumbler, and pour the glitter dropped on that paper, which is economical and you can use it again. Do not glitter the tumbler in a well-ventilated room as the glitter may scatter around, making it difficult for you to clean. Next thing is a little bit tiring as you have to take it outdoors and rotate the glittered tumbler for 30 minutes before letting it sit and dry for 2 hours.

Step 5. Mixing and Applying Epoxy onto the Tumbler
Unlike Step 4 that is mostly performed indoors, Step 5 must be carried out outdoors or in a well-ventilated space. You are supposed to mix “A” Side and “B” Side of epoxy together first to fully activate the strong strength of epoxy. The mixing step is a little bit dangerous as epoxy is toxic and harmful during its mixing and curing, and that’s why this step must be performed outdoors. You should prepare a stirring rod, a large cup and two small measuring cups to hold “A” Side and “B” Side of epoxy respectively. If you do not have these measuring containers, you can use two medical injectors with two normal vessels. In order to protect yourself from potential harms, you must wear disposable or protective gloves during mixing. So how to do it?
If it is a 30 oz tumbler, you can use 15 ml of each Side. First, pour 15 ml of “A” Side in one measuring cup and pour 15 ml of “B” Side in the other. Second, pour “A” Side and “B” Side into the large mixing cup and mix them with the stirring rod slowly to eliminate the possible presence of bubbles. Third, stop stirring when you find that the epoxy becomes clear, which is also a signal of starting to apply epoxy onto the tumbler. Again, slowly rotate the tumbler with the home-made turner and paint epoxy with a silicone brush onto the tumbler. But if you directly pour epoxy on the tumbler, the surface may not be even or flat, and some parts of the surface may not be fully painted.
After the tumbler is completely covered with epoxy, wait for 5 to 10 minutes before removing the tape. If you forget to tear off the tape in time, it may be sealed by epoxy. I know it’s tiring, but you still have to rotate the tumbler slowly for another 2 hours before letting it sit for over 8 hours.

Step 6. Sanding the Tumbler
Now you have got a nice and tough glitter tumbler, but the surface of the tumbler is not so even and bright, and needs to be further sanded. You can gently sand the tumbler until the surface looks even and touches smooth.
After all that, a DIY glitter tumbler comes out, and now you have known the entire process of DIY glitter tumbler. The following Step 7 and Step 8 are not indispensable unless you want to stick vinyl decals to the tumbler.

Step 7. Adding Vinyl Decals onto the Tumbler (Optional)
This step may be the simplest one as the only thing you have to do is pick up your favorite vinyl decal and stick it to the tumbler.
")
Step 8. Painting Another Layer of Epoxy onto the Tumbler (Optional)
In order to seal the vinyl decals, you are supposed to paint another layer of epoxy onto the tumbler. Just repeat Step 5 and Step 6, and you will get a DIY glitter tumbler with vinyl decals. Congratulation!
*Materials You May Need
- Blank tumbler
- Alcohol (for wiping)
- Towel or tissue
- Electrical tape
- Disposable gloves
- Facial mask
- Spray paint
- Carton board
- Adhesive
- Epoxy (A and B)
- Cup spinner
- Cardboard (turner tool)
- PVC tube (turner tool)
- Football (turner tool)
- Paper
- Adhesive brush
- Stirring rod
- Mixing cup
- Measuring cups
- Silicone brush
- 180-220 grip sandpaper
- Vinyl decals
Mr. Samuel Liu is Senior Research&Development Engineer of KingStar Industries Co., Ltd. Please feel feel to send email to info@waterbottle.tech if you want to talk with him on technology and manufacturing.
