Making your own sublimation tumblers and mugs isn’t as complicated as it might seem. With the right materials—like sublimation paper, special ink, and a reliable heat press—you can turn blank drinkware into colorful, personalized pieces. The key is using properly coated sublimation tumblers and understanding how the heat transfer process works.
Whether you’re customizing for a small business, gifts, or your own creative outlet, a little practice goes a long way. As the leading custom stainless steel drinkware manufacturer, KingStar will walk you through the entire process step-by-step so you can start making custom tumblers and mugs with confidence. Let’s dive in and get hands-on with sublimation.
What Is a Sublimation Tumbler?
Before diving into the how-to, it’s important to understand what sublimation tumblers are and why they’re special.
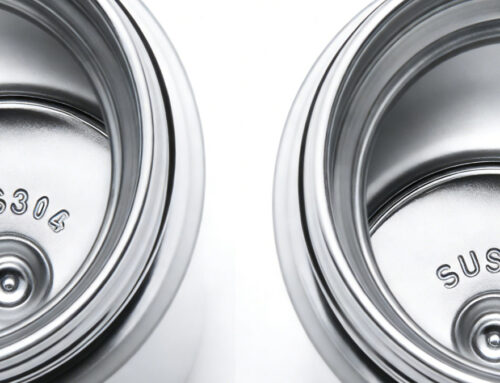
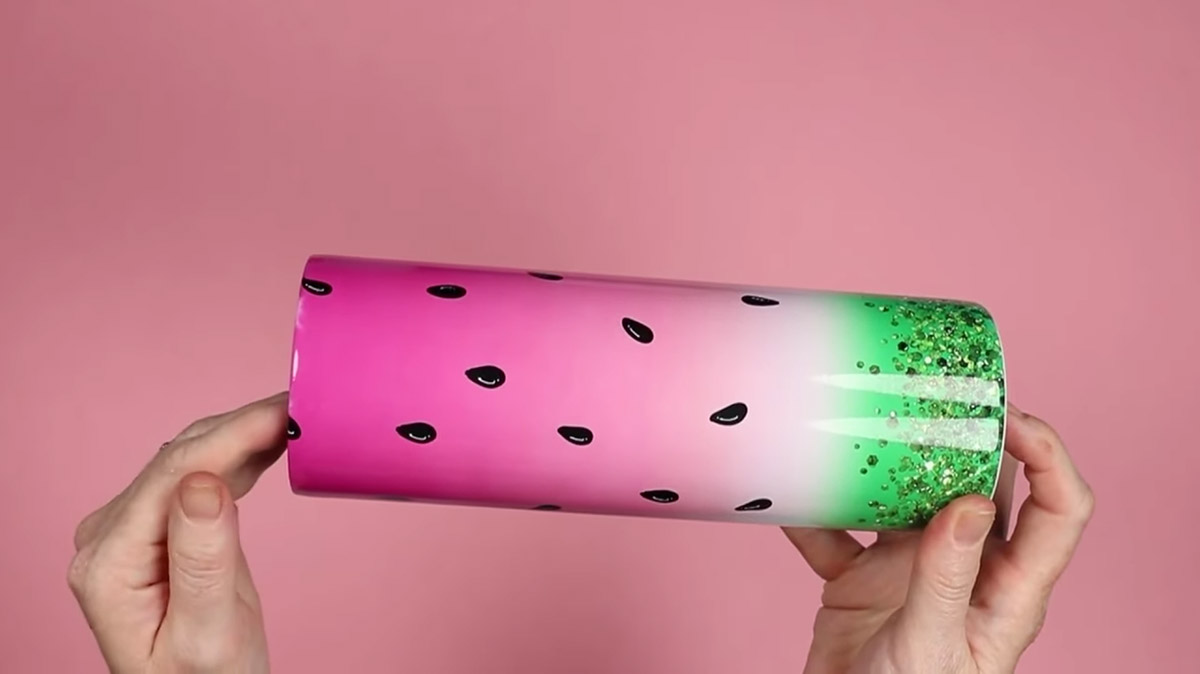
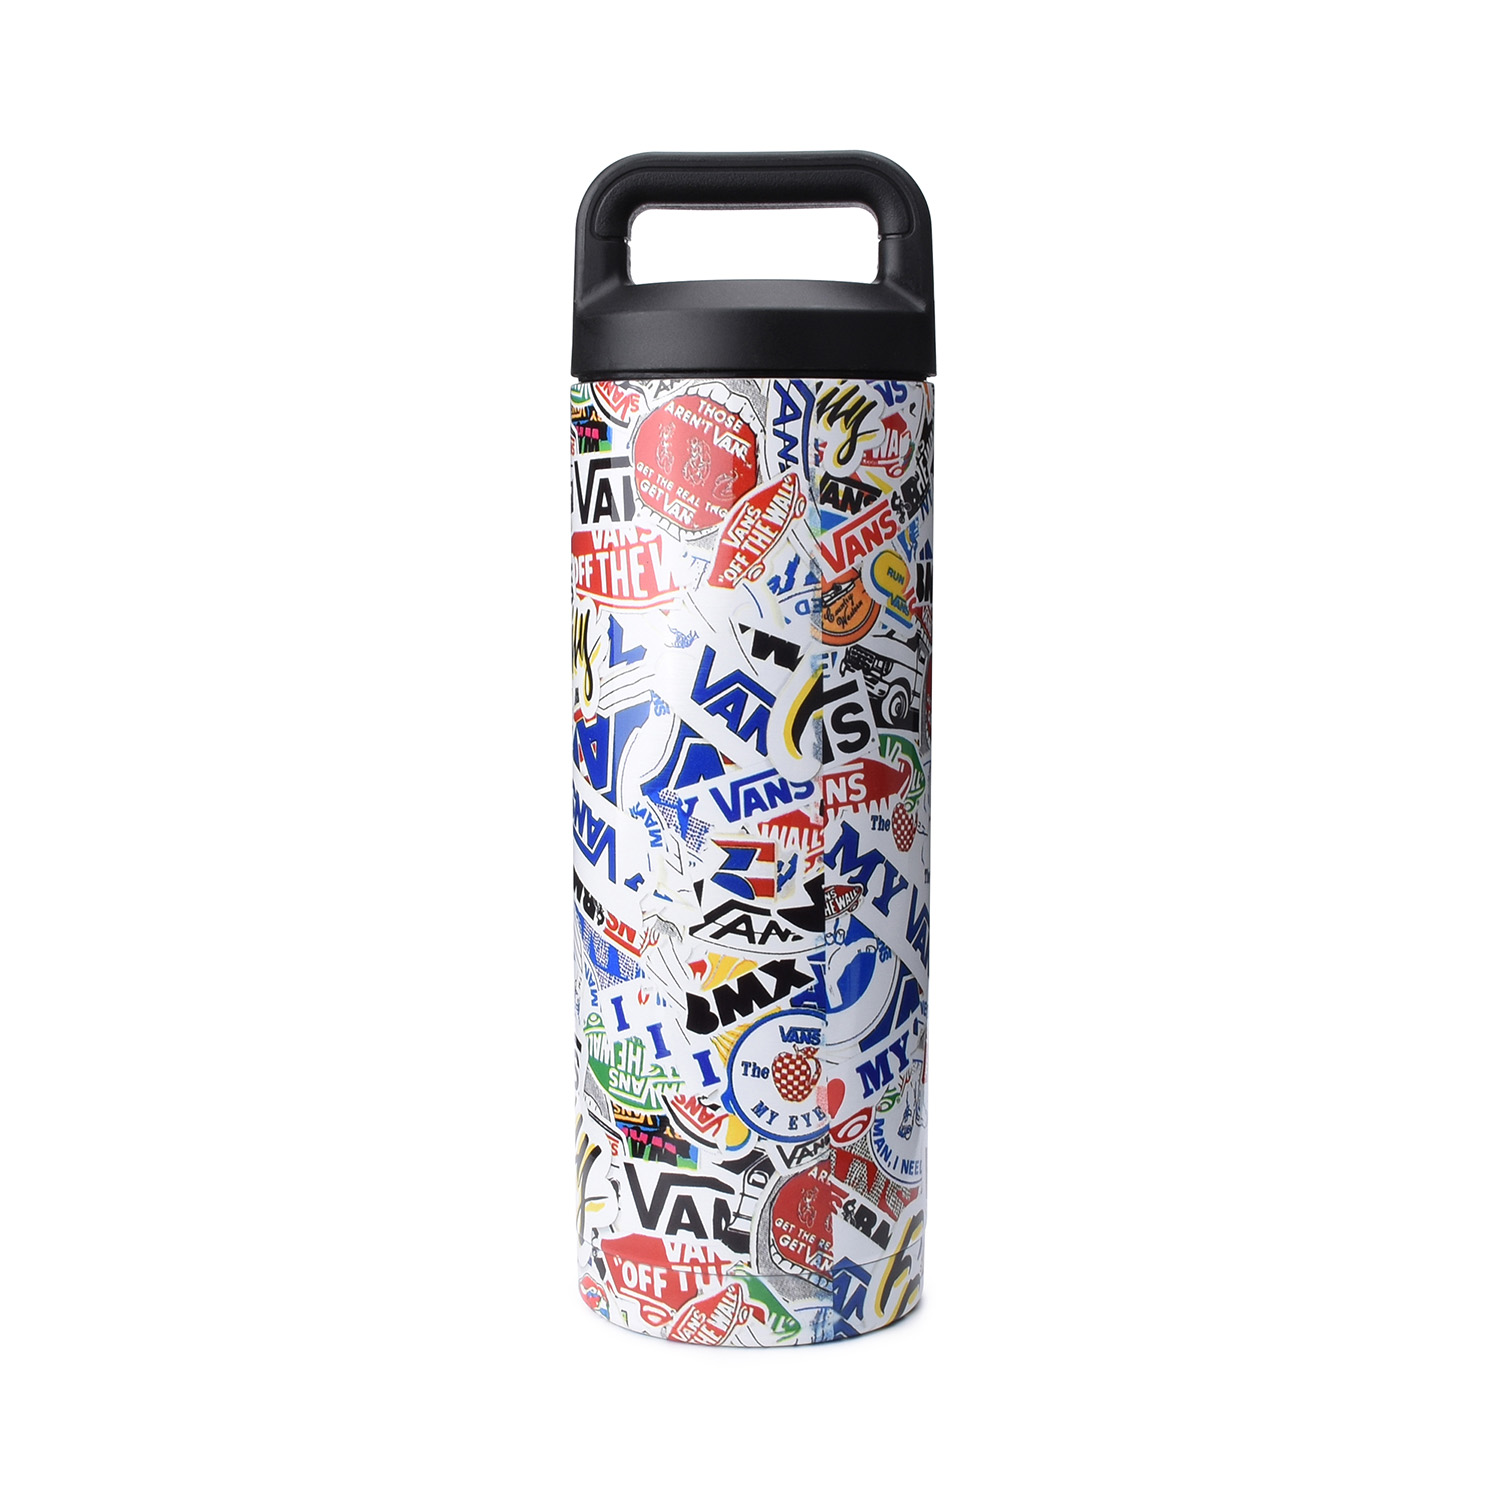
A sublimation tumbler is typically made of stainless steel and coated with a special polyester layer that allows sublimation dye to adhere when heat and pressure are applied. This coating makes it possible to permanently infuse full-color designs directly onto the tumbler surface. Sublimation tumblers are known for their durability, heat resistance, and the vividness of the transferred design.
Key features of sublimation tumblers include:
- Heat resistance: Can endure high temperatures without melting or warping.
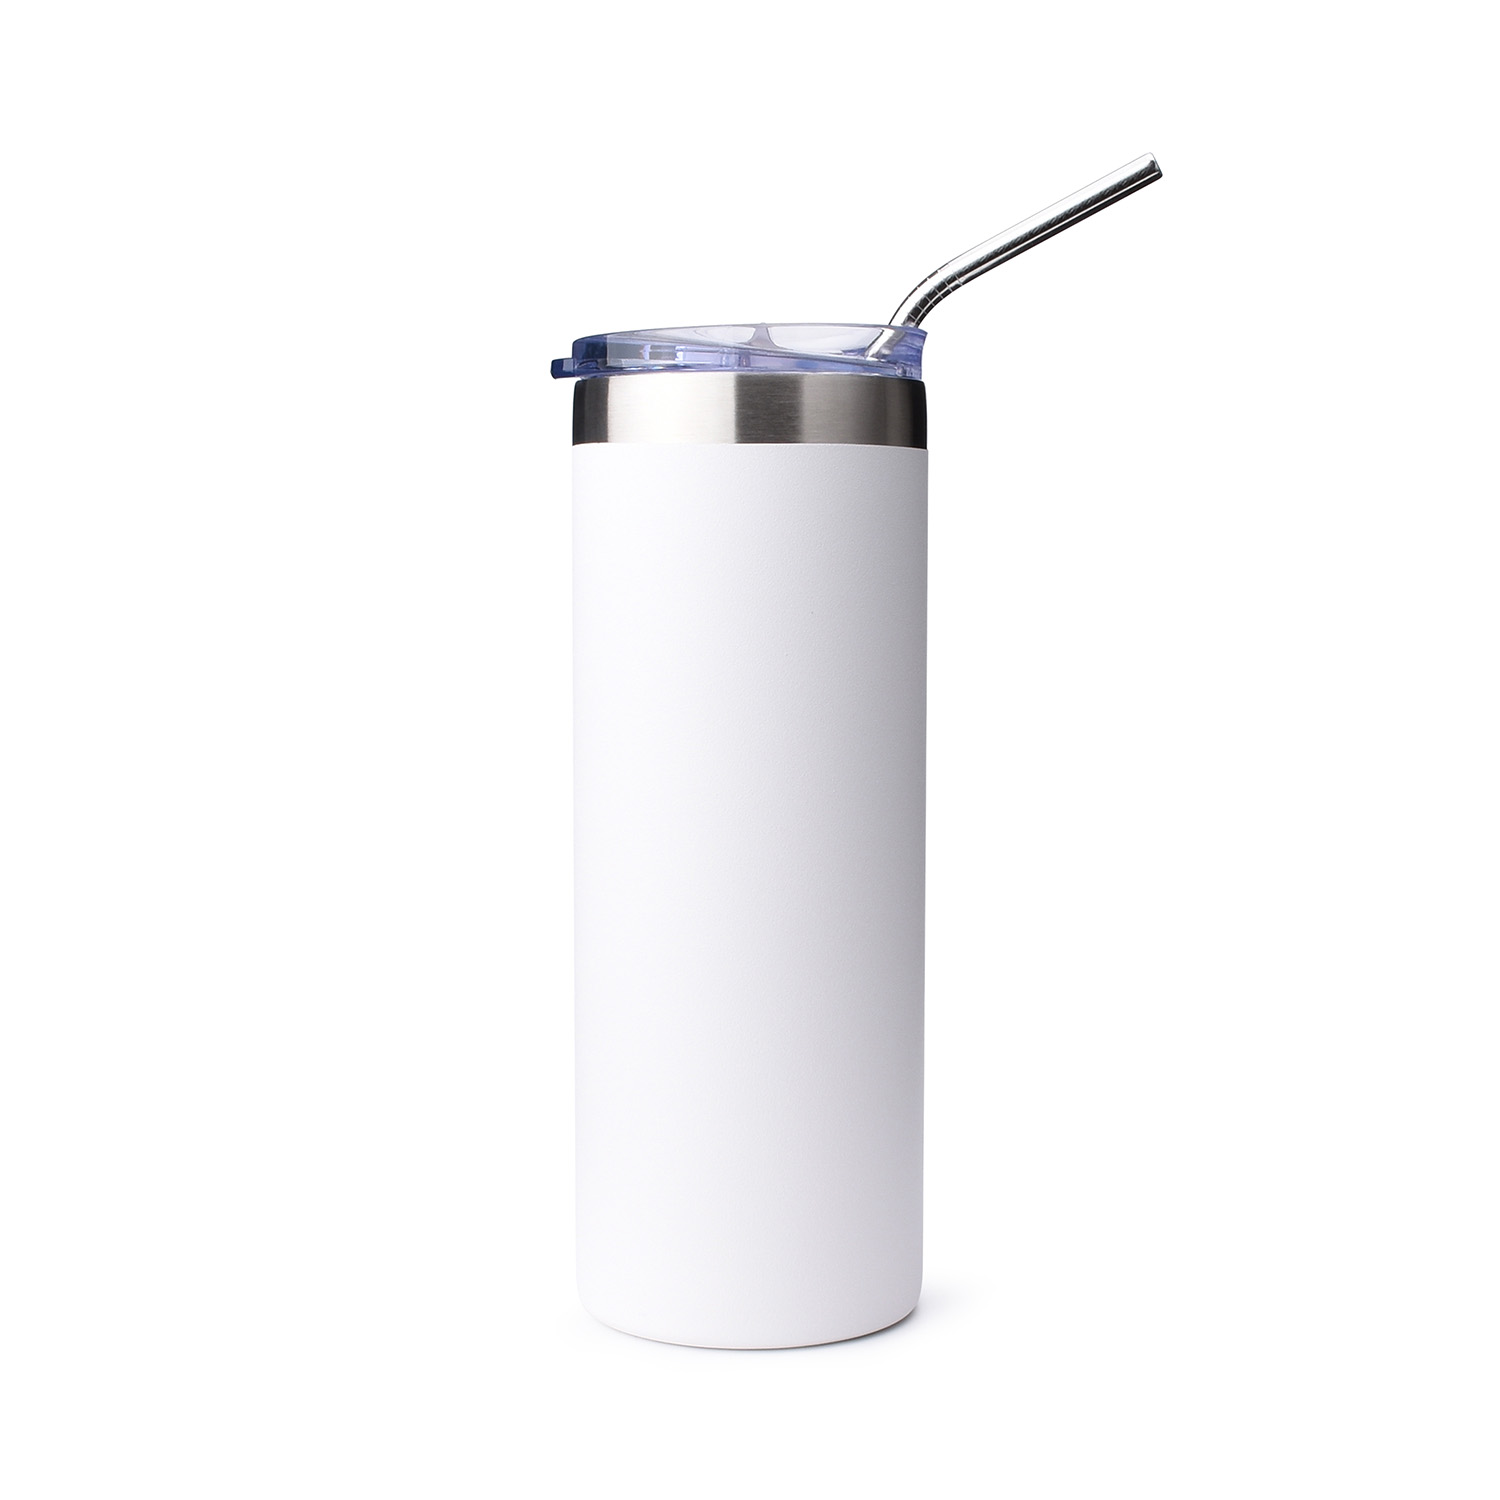
- Color limitations: Only come in white or light silver because sublimation works best on light backgrounds.
- Material: Usually 304 stainless steel, food-grade and corrosion-resistant.
- Customization potential: Endless design options, from logos and names to intricate artwork.

Supplies You’ll Need
To make sublimation tumblers or mugs, you’ll need a few specific tools and materials. Most of them are easy to find and reusable across multiple projects.
Essential Equipment:
- Sublimation Printer (with sublimation ink)
- Sublimation Paper
- Tumbler or Mug Heat Press Machine
- Blank Sublimation Tumblers or Mugs
- Heat-Resistant Tape: Regular tape melts into a gloopy mess. Use only high-temp tape explicitly meant for sublimation or heat presses.
- Butcher Paper/Parchment Paper: Protects your heat press elements from stray ink transfer and keeps your wrapped bundles clean before pressing.
- Lint Roller
- Clean Cloth and Alcohol
- Heat-Resistant Gloves
- Scissors, Cutting Mat, and Ruler
- Optional: Sublimation shrink wrap (Game Changer for Convection/Some Presses), heat gun, and convection oven
Having these items ready will help ensure a smooth, efficient workflow from design to final product.
Step 1: Create Your Design
Start by choosing or creating your design. Whether it’s a company logo, a quote, a pattern, or a photo collage, make sure it represents your brand or intended message clearly.
You can use software like:
- Adobe Illustrator or Photoshop
- Canva
Make sure your design is high-resolution (at least 300dpi) for the best print quality.


Step 2: Size the Design Correctly
Proper sizing ensures a professional-looking finish. For full-wrap designs on tumblers:
- Standard 20oz skinny tumbler: ~9.3″ wide × 8.2″ tall
- 15oz mugs: ~8.5” x 4.25”
Measure your blank using a tape measure if needed. When printing logos or small monograms, sizes like 2”x2” or 3”x3” are typical.

Step 3: Print Your Design on Sublimation Paper
Use your sublimation printer to print the design:
- Always mirror your design before printing. (Flip everything horizontally! The print will transfer reversed from the paper. Mirroring makes it right-side-up on the blank. Print preview is your friend. Triple-check mirroring before printing.)
- Use high-quality sublimation paper for better color vibrancy.
- Set your printer to the highest quality print settings.
Let the printed sheet dry for a minute or two to prevent smudging.

Step 4: Trim the Sublimation Sheet
Use scissors or a cutting tool to carefully trim any excess edges or ink smudges from your design. Clean, trimmed edges help avoid ghosting during transfer.
Be sure to remove unwanted ink marks or streaks—these can transfer onto your tumbler if not cut away.

Step 5: Clean the Tumbler
Any dust, lint, or oils from handling can interfere with the sublimation process.
- Use a lint roller first to remove debris.
- Follow with alcohol and a clean cloth to remove fingerprints or residue.
This step is critical for a clean, professional finish.
Step 6: Attach the Design to the Tumbler
Wrap the printed design tightly around the tumbler.
- Use heat-resistant tape to secure it firmly.
- When taping, cover the entire seam and add extra tape on the bottom rim.
- For full-wrap designs, ensure edges align as closely as possible to avoid white gaps.
Pro tip: Wrap butcher paper around the tumbler to protect your press from ink bleed.

Step 7: Turn on the Tumbler Press Machine
Time and temperature settings vary depending on your press and tumbler type. As a general rule:
- Temperature: 330°F to 350°F
- Time: 50–60 seconds
Make sure the heat press is preheated fully before placing the tumbler inside.

Step 8: Heat Press the Tumbler
With heat-resistant gloves, place your tumbler in the press. Adjust the tension so that it’s snug but not overly tight.
Close the press and let it run for the set time. Once complete, carefully remove the tumbler using gloves (it will be extremely hot).
Peel It Off: Start peeling the sublimation paper while the blank is still warm, ideally 120°F – 140°F. Crucial! Cool ink is trapped. Warm ink releases from the paper cleaner. This is the most satisfying part—watch your design come to life!

Optional: Using a Convection Oven
If you don’t have a tumbler press, you can use a convection oven. This method allows you to sublimate multiple tumblers at once.
Instructions:
- Follow all the prep steps up to Step 6.
- Wrap the tumbler with shrink wrap.
- Preheat your oven to 400°F.
- Bake for 6 minutes, rotating halfway through.
- Remove and dip into cool water to halt the sublimation process.
- Peel off the wrap and paper.
Note: This method works well but may produce slightly less vivid results than a dedicated press.
Pro Tips to Avoid Common Sublimation Mistakes
Even with the right tools, sublimation can go sideways if you overlook a few key details. Here are some advanced tips and troubleshooting insights to help you avoid disasters and get a clean, professional finish every time.
- Wrinkles Are Trouble—Keep It Smooth
Any wrinkles in your sublimation paper or wrap can cause unwanted ghost lines on your tumbler. To prevent this:
- Wrap the design tightly around the tumbler.
- Use heat-resistant tape to secure it evenly—no gaps.
- A sublimation shrink wrap or silicone sleeve helps apply even pressure.
- Lightly roll the tumbler on a hard surface to press the paper edges down before heating.
- Ghosting: The Faint Print Nobody Wants
Ghosting happens when:
Excess paper outside your design heats up and leaves a faint, blurry outline.
Fix: Trim the paper close to your design edges.
Tape overlaps inside the pressing zone heat up and create a “shadow” transfer.
Fix: Use minimal tape and avoid overlapping edges where heat is applied directly.
3. Print Looks Faded or Washed Out?
Several things might be going wrong:
- Temperature too low: Try increasing by small increments (5–10°F) and verify your press is heating accurately.
- Not enough press time: Add an extra 10–15 seconds.
- Design wasn’t mirrored before printing: A common but easy-to-miss step.
- Ink smudging: Might be due to wet sublimation paper or poor drying time.
- Low ink or expired cartridge: Check your printer’s ink levels and condition.
- Internal temperature of the tumbler is too low: This is more common with thicker blanks or short press times.

4. Yellow Tint or Discoloration
Yellowing usually means the blank was overexposed to heat or left in the press for too long. It can also point to poor-quality coatings on the tumbler.
Solution: Double-check the temperature and time settings for your specific blank.
5. Uneven Color Near the Rim
Faded or “washed out” areas near the top or bottom are often caused by poor pressure contact.
Make sure the design is taped firmly around the edges.
Use a sublimation wrap or blanket that applies consistent pressure across the entire surface.
Some low-end heat presses can bow or lose pressure at the edges—this affects results.
6. Scratches and Surface Imperfections
Once a blank is scratched or dinged, sublimation won’t cover it up. Handle your tumblers carefully before printing:
- Avoid stacking or rough handling.
- Clean the surface before printing using a lint roller and alcohol to remove dust, fingerprints, and residue.
At the end of the day, sublimation tumblers combine creative freedom with commercial value. Whether you’re launching a product line, prepping for an event, or gifting corporate clients, custom tumblers offer a unique, professional result that stands out.
If you’re a wholesaler, retailer, or distributor looking for a reliable supplier of high-quality sublimation-ready stainless steel tumblers and mugs, KingStar is here to support your needs. With years of OEM and ODM experience, we help businesses turn their ideas into reality—one perfectly printed tumbler at a time.
Need help sourcing your sublimation blanks in bulk? Contact KingStar today by sending us a message online or via email to sales@waterbottle.tech. We’ll respond within 24 hours.